Introduction
Snow ice cream is a delightful and nostalgic winter treat that’s as fun to make as it is to eat. Whether you’re looking for a family-friendly activity, a way to make the most of a snowy day, or simply craving something unique, this recipe is the perfect solution. With just a few simple pantry staples and freshly fallen snow, you can whip up a creamy, flavorful dessert in minutes. In this guide, we’ll explore everything from selecting the right snow to adding your own creative twists. Plus, you’ll find tips for safe preparation and plenty of ideas for customizing your ice cream. Ready to dig in? Let’s begin!
Introduction to Snow Ice Cream
How to Make Snow Ice Cream: A Fun Winter Tradition
Snow ice cream is more than just a dessert—it’s a playful way to celebrate the beauty of winter. For decades, families across snowy regions have enjoyed scooping fresh snow to create a creamy, sweet concoction that rivals traditional ice cream. It’s quick, it’s easy, and best of all, it requires no fancy equipment or special techniques.
Making snow ice cream isn’t just about the recipe; it’s about the experience. Imagine gathering around a frosty table with loved ones, watching fresh snowflakes fall, and creating something delicious together. It’s a moment that feels magical. And since the ingredients are so simple—things you probably already have in your kitchen—you can make this treat on a whim.
What’s more, snow ice cream is incredibly versatile. Want to make it chocolate-flavored? Sure! Prefer fruity or minty varieties? Go for it. With a little creativity, you can transform this basic recipe into a masterpiece.
The History of Snow Ice Cream
Did you know that snow ice cream has roots in centuries-old traditions? People have been turning snow into desserts for hundreds of years! Early versions of snow ice cream were made by combining snow with sweeteners like honey or fruit juice. Over time, the recipe evolved to include milk, cream, and sugar, making it creamier and more decadent.
While the exact origins of snow ice cream are unclear, one thing is certain: it has brought joy to countless generations. Today, it remains a cherished winter pastime, reminding us to slow down and enjoy the simple pleasures in life.
Why You Should Make Homemade Snow Ice Cream
Still not convinced? Here’s why making snow ice cream is worth it:
- It’s budget-friendly: With just a few low-cost ingredients, you can whip up a delicious dessert for the whole family.
- It’s environmentally friendly: By using snow, you’re utilizing a natural resource that’s readily available (and free!).
- It’s customizable: You can adjust the flavors, sweetness, and toppings to suit your preferences.
- It’s a bonding activity: Making snow ice cream is a fun way to spend quality time with your loved ones.
Whether you’re reliving childhood memories or introducing this treat to your kids for the first time, snow ice cream is a recipe you’ll want to return to every winter.
Pro Tips for the Perfect Snow Ice Cream
Before we dive into the recipe, here are a few tips to ensure success:
- Use fresh snow: The fluffier and cleaner the snow, the better your ice cream will taste. Avoid using snow that has been sitting out for too long.
- Work quickly: Snow melts fast, so gather your ingredients and tools beforehand.
- Experiment with flavors: Don’t be afraid to get creative—add cocoa powder, fruit puree, or even a pinch of cinnamon for a unique twist.
Now that we’ve covered the basics, it’s time to move on to the next step: preparing your ingredients.
Ingredients and Preparation
Essential Ingredients for Snow Ice Cream
Making snow ice cream requires only a handful of basic ingredients, most of which you probably already have in your kitchen. Let’s take a closer look at what you’ll need:
Main Ingredients
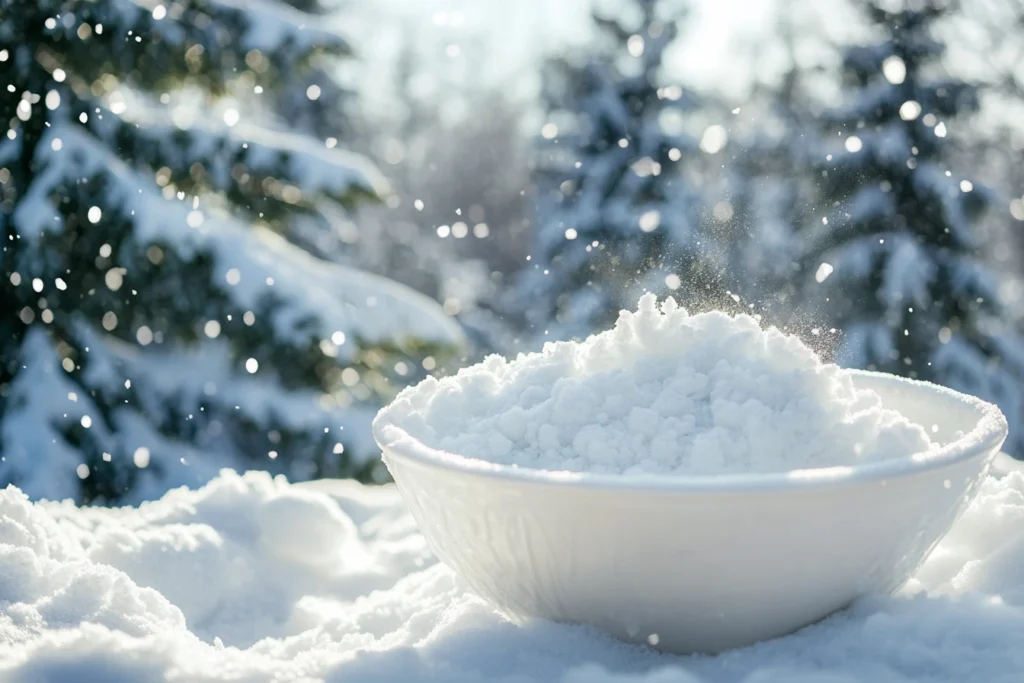
- Fresh, clean snow: About 8 cups of freshly fallen snow. Aim for light, fluffy snow for the best texture.
- Granulated sugar: 1/2 cup for sweetness, but you can adjust to taste.
- Milk or cream: 1 cup of whole milk, heavy cream, or a mix of both. For a creamier version, opt for heavy cream.
- Vanilla extract: 1–2 teaspoons to add that classic vanilla ice cream flavor.
Optional Ingredients for Customization
- Cocoa powder: For a rich, chocolatey version.
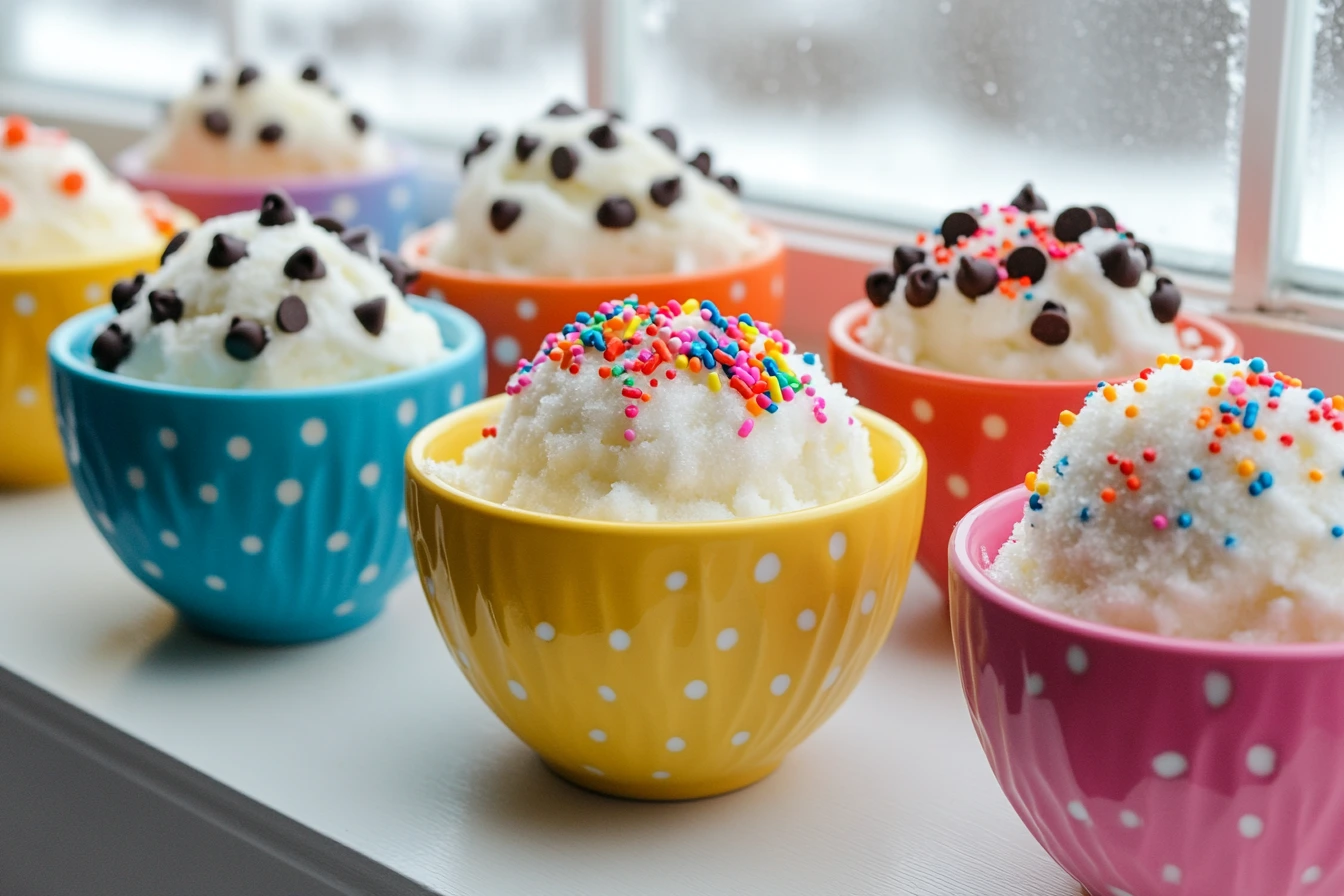
- Food coloring: To make it fun and festive for kids.
- Toppings: Sprinkles, chocolate chips, crushed candy canes, or fresh fruit.
Tips for Collecting Snow Safely
Fresh snow is the star of this recipe, but it’s essential to ensure it’s safe to use. Here are some helpful tips:
- Collect fresh snow: Wait until it has been snowing for at least 30 minutes to ensure you’re gathering clean, uncontaminated snow.
- Avoid yellow or discolored snow: This might seem obvious, but it’s worth mentioning—stay away from anything that doesn’t look pristine.
- Use a wide, clean bowl: Take a large, clean mixing bowl outside to collect the snow. This prevents dirt or debris from mixing in.
- Pick the right spot: Avoid collecting snow from areas near roads, trees, or rooftops where contaminants may have settled.
Preparing Your Workspace
Before you start, set up your workspace to make the process as smooth as possible. Here’s what you’ll need:
- A large mixing bowl: This will hold the snow and allow you to mix the ingredients easily.
- Measuring cups and spoons: To ensure precise measurements.
- A wooden or silicone spoon: For gently folding the ingredients together without overmixing.
- A cold area: If your kitchen is warm, try to work near an open window or in a cooler part of the house. This helps keep the snow from melting too quickly.
Why Fresh Snow Matters
The secret to delicious snow ice cream lies in the quality of the snow itself. Fresh, powdery snow creates a light and airy texture, while older snow may feel dense or grainy. Plus, freshly fallen snow is more likely to be free of impurities, making it safer and tastier to use.
Remember, snow starts melting as soon as it’s brought indoors, so it’s a good idea to collect it last, right before you start mixing your ingredients.
Step-by-Step Guide to Making Snow Ice Cream
Step 1: Gather Your Ingredients and Snow
Before diving into the mixing process, it’s essential to ensure that all your ingredients are ready and within reach. Since snow melts quickly, you’ll want to act fast once you bring it inside.
- Measure your ingredients: Have the milk, sugar, and vanilla extract measured and ready to go.
- Collect fresh snow: Head outside with a large, clean bowl and scoop up about 8 cups of freshly fallen, untouched snow. Avoid packing the snow too tightly; keep it fluffy and loose.
- Chill your bowl (optional): For even better results, chill your mixing bowl in the freezer before starting. This keeps the snow cold as you mix.
Step 2: Mix the Ingredients Together
This is where the magic happens! Combining the ingredients properly is the key to achieving the perfect creamy texture.
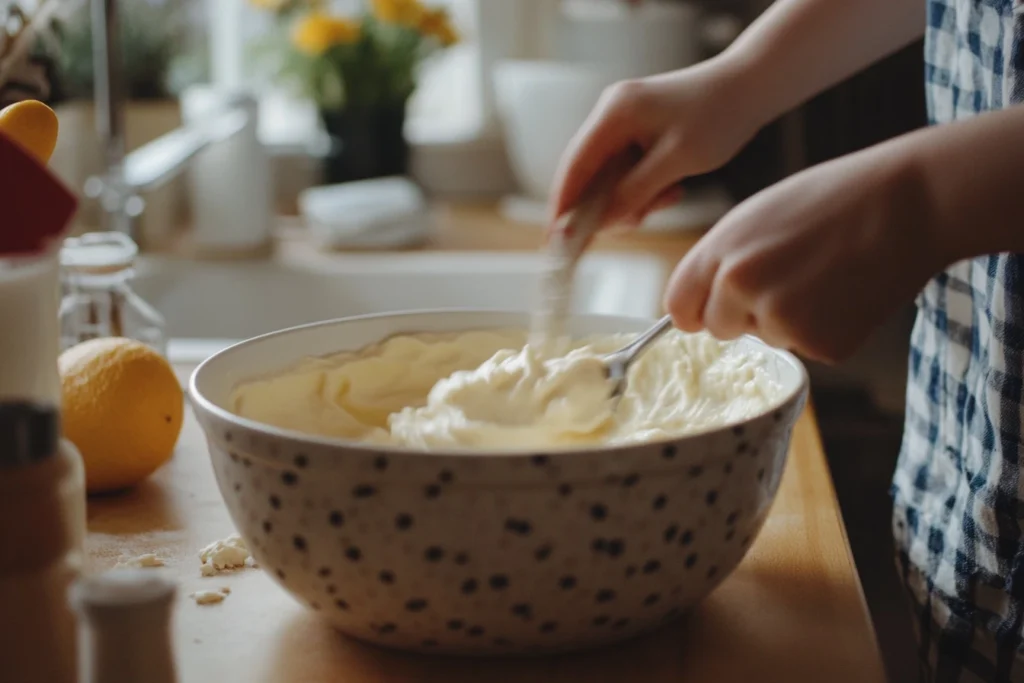
- Start with the base: In a large mixing bowl, whisk together the milk (or cream), sugar, and vanilla extract until the sugar is fully dissolved.
- Pro tip: Adjust the sugar to your preferred sweetness by tasting the mixture before adding the snow.
- Gradually add snow: Begin adding the snow to the liquid mixture, one cup at a time. Gently fold the snow into the mixture using a silicone or wooden spoon.
- Be careful not to overmix! Stir just enough to combine the ingredients, keeping the texture light and fluffy.
- Check the consistency: Continue adding snow until the mixture reaches the desired consistency. It should resemble soft-serve ice cream. If it feels too runny, add more snow; if it’s too thick, add a splash of milk.
Step 3: Customize Your Snow Ice Cream
Now that you’ve got the basic snow ice cream ready, it’s time to get creative!
- Add mix-ins: Stir in chocolate chips, crushed cookies, or candy pieces for an extra crunch.
- Try new flavors: Mix a tablespoon of cocoa powder into the base for a chocolate version, or add a few drops of peppermint or almond extract for a unique twist.
- Use food coloring: A few drops of food coloring can make the ice cream even more fun for kids—try red and green for the holidays or blue and pink for a playful treat.
Step 4: Serve and Enjoy Your Snow Ice Cream
Your snow ice cream is ready to serve! Scoop it into bowls, top with your favorite garnishes, and enjoy it immediately. Since snow ice cream melts faster than traditional ice cream, it’s best to eat it fresh.
- Serving tip: Pair it with warm cookies or brownies for a delicious contrast of hot and cold.
- Storage: If you have leftovers (unlikely!), transfer them to an airtight container and freeze for up to 24 hours. Keep in mind that the texture may change slightly after freezing.
Nutritional Content
Snow ice cream is a fun treat, but it’s always good to know what you’re indulging in. Here’s the approximate nutritional content per 100g:
| Nutrient | Amount (per 100g) |
|---|---|
| Calories | 120 |
| Total Fat | 4g |
| Saturated Fat | 2.5g |
| Cholesterol | 15mg |
| Sodium | 30mg |
| Total Carbohydrates | 19g |
| Sugars | 16g |
| Protein | 2g |
Frequently Asked Questions About Snow Ice Cream
Can you use old snow to make snow ice cream?
It’s not recommended to use old or leftover snow for making snow ice cream. Freshly fallen snow is your best option because it’s cleaner and has a fluffy texture, making it ideal for mixing. Old snow, especially snow that has been sitting for days, can become compacted, dirty, or exposed to pollutants, which may affect the flavor and safety of your ice cream. Always collect snow that’s just fallen and hasn’t been disturbed.
Is it safe to eat snow?
In general, eating fresh snow is safe if you follow a few precautions. Snow that has just fallen is clean and free from contaminants, especially if it’s collected in an open area away from roads, buildings, or trees. However, avoid using snow during the first snowfall of the season, as it can pick up pollutants in the air. Also, steer clear of any snow that looks discolored or has unusual textures. When in doubt, collect snow during the middle of a snowfall for the freshest and cleanest results.
What can I use as a milk alternative?
If you’re lactose-intolerant or looking for a dairy-free option, you can substitute regular milk with plant-based alternatives. Here are some great options:
- Almond milk: Adds a nutty flavor to the ice cream.
- Coconut milk: Provides a rich and creamy texture.
- Oat milk: Works well for a neutral, creamy taste.
- Soy milk: A versatile option that blends easily with the other ingredients.
You can also experiment with flavored versions of these milk alternatives, such as vanilla or chocolate almond milk, to add an extra twist to your snow ice cream.
How long does snow ice cream last?
Snow ice cream is best enjoyed immediately after making it. Its light and fluffy texture is a key part of the experience, and it tends to melt quickly. However, if you have leftovers, you can transfer the ice cream to an airtight container and store it in the freezer for up to 24 hours. Keep in mind that the texture may change after freezing—it can become icier or harder, so you might need to let it thaw for a few minutes before serving.
Can I make snow ice cream without sugar?
Yes, you can absolutely make snow ice cream without sugar! Here are some alternatives to sweeten your ice cream naturally:
- Honey: Adds a natural sweetness with a subtle floral flavor.
- Maple syrup: A great option for a deeper, richer taste.
- Stevia or monk fruit: If you’re looking for low-calorie sweeteners, these work well.
- Mashed fruit: Blend fresh or frozen fruit like strawberries, bananas, or raspberries into the milk mixture for natural sweetness and added flavor.
Adjust the quantity of your chosen sweetener to taste, and you’ll still end up with a delicious treat!
How can I make it vegan-friendly?
Making snow ice cream vegan-friendly is simple! Here’s how:
- Use plant-based milk: Almond, coconut, oat, or soy milk all work wonderfully.
- Sweeteners: Opt for natural or plant-based sweeteners like maple syrup or agave nectar.
- Toppings: Stick to vegan-friendly options such as dark chocolate chips, fresh fruits, or vegan sprinkles.
With these substitutions, you can create a snow ice cream recipe that’s not only vegan but also equally delightful and creamy!
Creative Variations and Fun Twists
Flavorful Variations of Snow Ice Cream
Snow ice cream is incredibly versatile, and you can easily transform the base recipe into exciting new flavors. Here are some ideas to inspire you:
Chocolate Snow Ice Cream
For chocolate lovers, this variation is a must-try! Simply add 2–3 tablespoons of cocoa powder to the milk mixture before combining it with the snow. You can also drizzle melted chocolate or sprinkle mini chocolate chips on top for an extra indulgent treat.
Fruity Snow Ice Cream
Turn your snow ice cream into a fruity delight by blending in pureed fruit. Strawberries, blueberries, or raspberries work wonderfully. For an added burst of flavor, mix in small chunks of the fruit itself. This version is naturally colorful and full of sweet, tangy goodness!
Mint Snow Ice Cream
Perfect for the holidays, mint snow ice cream is refreshing and festive. Add 1/2 teaspoon of peppermint extract to the base mixture and mix well. You can even toss in some crushed candy canes for extra crunch and holiday cheer.
Seasonal and Holiday-Themed Twists
If you’re making snow ice cream during a special occasion, why not give it a seasonal twist?
Festive Colors with Food Coloring
Add a few drops of food coloring to match the season or occasion. For Christmas, go for red and green swirls. For a winter birthday, try shades of blue and silver. It’s an easy way to make the dessert look as exciting as it tastes.
Warm Pairings for Cold Treats
Pair your snow ice cream with other wintertime desserts like cookies, brownies, or a slice of warm apple pie. The contrast between hot and cold creates a delightful sensory experience.
Hot Cocoa Ice Cream Sundae
Turn your snow ice cream into a hot cocoa-inspired sundae. Add mini marshmallows, a drizzle of chocolate syrup, and a sprinkle of crushed graham crackers. It’s a cozy yet chilly dessert mash-up!
Kid-Friendly Recipes and Fun Ideas
Making snow ice cream is a fantastic activity for kids, and it gets even better when they can add their own creative touch.
Engaging Children in the Process
Let the kids take charge of collecting the snow (with supervision, of course) and mixing the ingredients. They’ll love the hands-on experience, and it’s a great opportunity to teach them about cooking and measurements.
Mini Snow Ice Cream Sundaes
Set up a “build-your-own sundae” station with a variety of toppings: sprinkles, crushed cookies, fruit, chocolate chips, or syrups. Kids can personalize their mini snow ice cream bowls however they like, making the process even more fun.
Themed Creations
Get creative with themed decorations! For example, use edible eyes and candy to make “snowmen” out of snow ice cream scoops or create colorful unicorn-themed bowls using rainbow sprinkles and pastel food coloring.
Encouraging Creativity with Snow Ice Cream
One of the best things about snow ice cream is how customizable it is. Whether you’re experimenting with flavors, toppings, or decorations, there’s no right or wrong way to enjoy this winter treat. It’s a blank canvas waiting for your imagination to run wild. So, go ahead—add that extra drizzle of chocolate, toss in those gummy bears, or make a sundae tower. You’re guaranteed to create something delicious and memorable.
1 thought on “How to Make Snow Ice Cream: A Step-by-Step Guide to a Delicious Winter Treat”